How to Clean, Fix and Store Your Camping and Hiking Gear
If you invest in great camping and hiking gear, it's worth your while to put the time into keeping it clean, repaired and properly stored.
Here’s how to get your gear in tip-top shape and ready for the next adventure.

TENTS AND TARPS
Your tent is an investment, so make sure the zippers and coatings aren’t slowly being worn away by dirt and sand—or growing mold in your garage.
CHECK AND REPAIR
- Check for damage on your tent poles, guy lines, groundsheets, zips and the rain fly. Don’t forget to check for holes in both the tent mesh and the fly. No one wants a leaky tent full of mosquitoes.
- Before you patch any holes in your tent, check the repair guidelines from your tent’s manufacturer—different fabrics need different kinds of repairs.
- If the fly is seam taped, it means that at least the inner surface is polyurethane-coated. PU-coated fabrics can be repaired with Gear Aid Seam Grip +WP. If the fly is not seam taped, the fabric may be siliconized, in which case small holes can be repaired with Gear Aid Seam Grip +SIL.
Small holes or tears on a mesh inner are usually a pretty easy fix. Any one of the following steps or a combination of the steps if the tear is larger or in a critical spot should work:
- Sew the hole closed by using a zig-zag stitch on a home sewing machine.
- Apply some gear repair tape to one side of the mesh (don't forget to round the corners).
- Glue the hole closed using Gear Aid Seam Grip + WP (do this carefully- Seam Grip will stick any two items together permanently).
CLEAN AND DRY
- Shake out excess dirt from your tent. Who knows what bacteria or parasites you might have packed up with you and taken home.
- Clean off dried mud with a soft brush.
- Spot clean with a damp sponge but don’t use detergent because it can affect the waterproof coating/finish of the fabric. Water and light elbow grease should be enough. Grangers makes a Tent + Gear cleaner that is perfect for spot-cleaning more stubborn marks.
- Dry your tent. Well. Moisture is the enemy. If you put a wet tent back in its storage sack, mildew and mold are going to have a big, stinky party. The best thing to do is to put your tent up and let it dry in the sun in your yard.
WATERPROOF
- Re-seal the seams if you spot signs of the seam tape delaminating.
- If you see flaking of the coating of your rain fly or the floor of the tent, it could be time to refresh the polyurethane coating. Again, circle back to your tent manufacturer first—as different materials need different kinds of sealants.
-
Notice that water doesn't bead off the fly like it used to? Find a specially formulated DWR (durable waterproof repellent) spray and apply according to instructions (did we mention to check in first with your tent manufacturer?). Some of these also offer extra protection against UV damage.
STORE
- Storing a tent damp can lead to hydrolysis. Essentially, this is when the PU coating breaks down and becomes sticky (the fabric may stick to itself as you unroll the tent). If you catch this early, you may be able to rescue the coating – beyond a certain point there is no way to fix it. To help avoid this, it’s important to store your tent bone dry and loosely packed somewhere it can air, rather than tightly stuffed in a compression bag or airtight container.

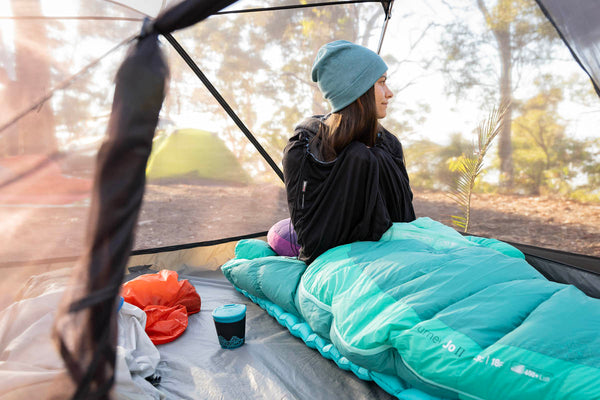
SLEEPING BAG
WASH
The most important thing to know about washing a sleeping bag concerns top-loader washing machines - avoid them. If your top-loader has an agitator (the internal plastic spiral), it may shift the down or tear the baffles in a down bag and unnecessarily stress the insulating fibers in a synthetic bag. A front-loader with a wash cycle suitable for wool or silk is fine - if you have concerns, a bathtub is the safest option.
- Double-check if your sleeping bag has down or synthetic filling. There's a slightly different process for washing a down sleeping bag than there is for washing a synthetic sleeping bag. Read how to wash your sleeping bag here.
- Don’t use just any laundry detergent to wash your sleeping bags as this can damage the super fine down clusters inside. You need a specially formulated laundry liquid like Grangers Down Wash.
- Avoid fabric softeners at all costs. They will stick to the delicate down clusters of a down bag or the fibers of a synthetic bag’s insulation and ruin their ability to loft. They will also reduce the breathability of the liner fabric.
-
You can hand wash and rinse at home if you have a bathtub, but if you don't have access to a dryer, the drying process will take a long time and involve manually shaking the bag a lot.
DRY
While the process for washing down and synthetic bags varies slightly, it's very different drying a down sleeping bag versus drying a synthetic sleeping bag.
- Whichever bag you have, only use very low heat or a cool cycle. Sleeping bag shell fabrics are delicate - they need be as light as possible to allow the insulation inside to expand fully. Laundromat dryer thermostats are often vague and unreliable. If you’re using a laundromat dryer, set the temperature to ‘cool.’ At home, set the temperature on low.
- Avoid fabric softeners at all costs. They will stick to the delicate down clusters of a down bag or the fibers of a synthetic bag's insulation and ruin their ability to loft. They will also reduce the breathability of the liner fabric.
- Many people throw a few tennis balls into the dryer with their down bag to help safely break up any clumps in the down. However, a more lightweight option is preferable, as tennis balls could damage the delicate clusters of down. Grangers Down Wash Kit comes with reusable dryer balls that are well-suited for the task.
- Make sure to check that the sleeping bag is actually spinning inside the dryer, if a bag gets hung up, fabric damage can quickly follow.
You’ll know the bag is completely dry because you won’t feel any clumps in the insulation. If you do, it’s not dry. If you put the bag away while it’s even slightly damp, it will grow mold.
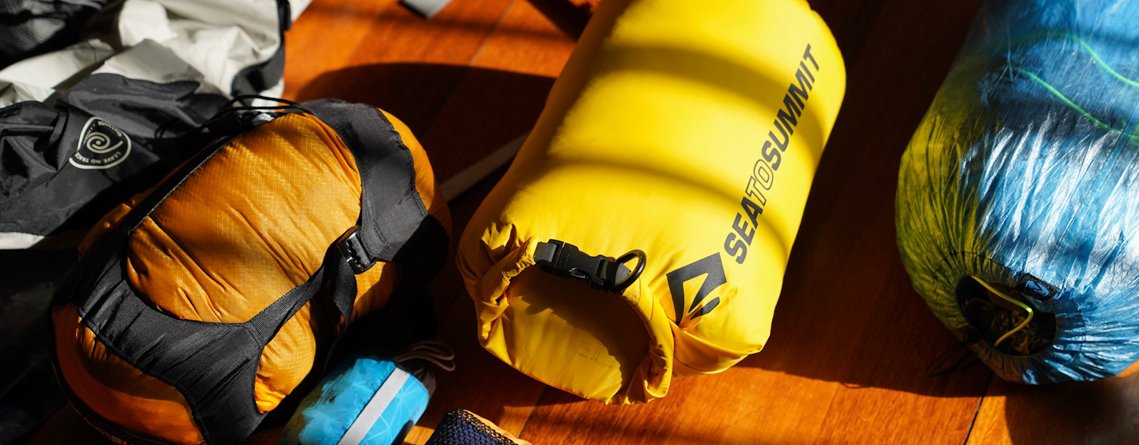
STORE
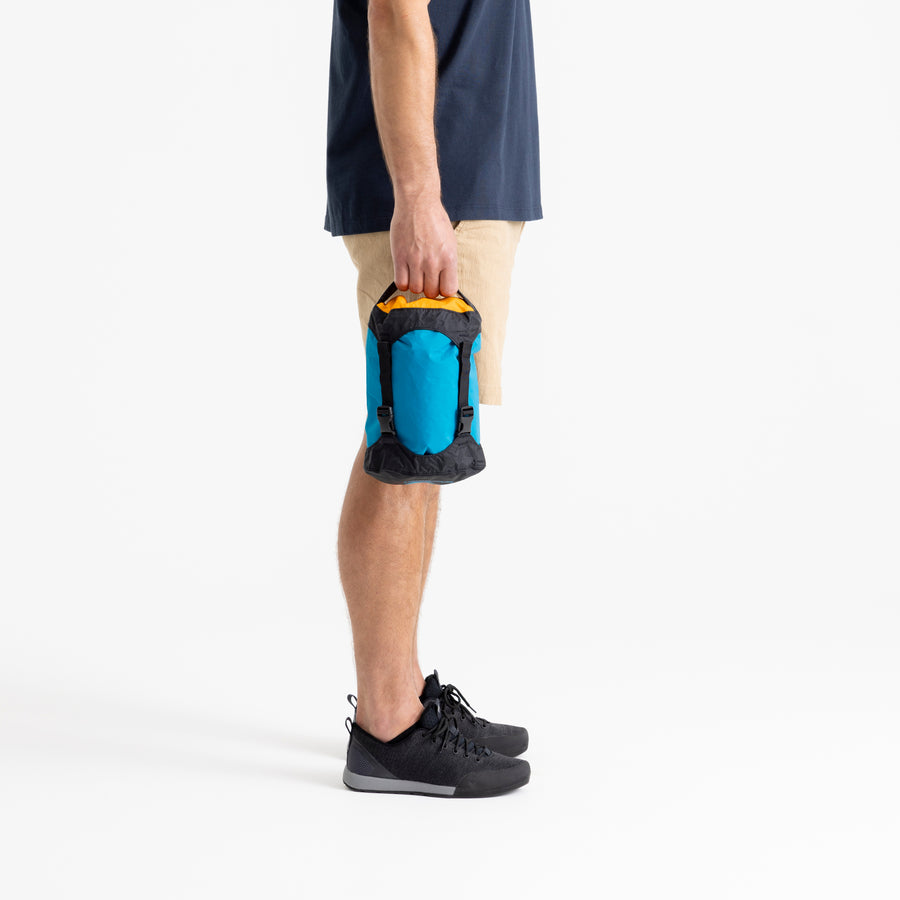
- When your sleeping bag is bone dry, store it in something that doesn’t compress the insulation. Compression sacks are great on the trails but using them for longer-term storage can damage the loft of your down or synthetic fill. Sea to Summit bags come with a fabric storage cube but you can also use a large storage sack (cotton works really well for this).
- It’s always better to stuff a synthetic bag rather than folding it and rolling it, as folding and rolling the same way every time can permanently split the synthetic fibers and lead to cold spots.
- Remember that instruction ‘store in a cool, dry place’? Well, that might not describe your garage. Better to store a sleeping bag somewhere shaded/well ventilated inside your house, where the temperature and humidity are more constant.
SLEEPING LINERS
To minimize the number of times you have to wash your sleeping bag, try using a sleeping liner. They keep dirt and grime out of your bag and are machine washable and quick-drying.
- To wash a sleeping liner, just shake out the excess dirt and wash it according to the tag instructions.
- To dry it, simply hang it on the line. Easy-as.
- Store almost anywhere.

SLEEPING MAT
CHECK AND REPAIR
- Check for leaks. Leave your mat inflated overnight with some books on it for weight.
- If your mat deflates overnight, here’s how to repair your sleeping mat.
CLEAN AND STORE
- Shake off any excess dirt from your sleeping mat and wipe it down with a damp cloth if it’s looking grubby.
- Store your self-inflating mats under your bed or anywhere you can lay it flat with the valve open.
- Store inflatable mats loosely folded with the valve open.
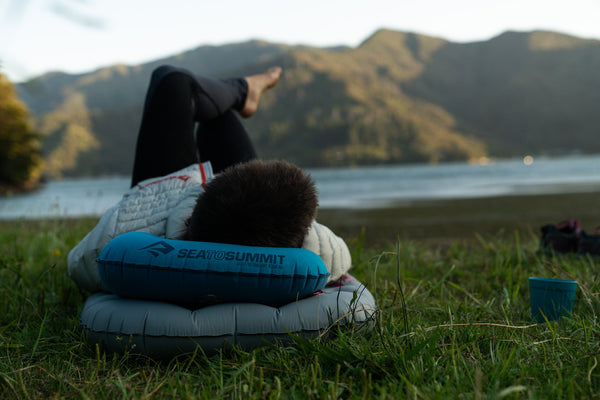
CAMP PILLOW
- If your camp pillow is grimy, deflate it, close the valve and hand wash it. The agitation of a washing machine can cause the bladder of a Premium Pillow to become de-located inside the outer fabric—it may not be possible to get it back in place.
- Air dry it and store with your other sleep system gear.
CAMPING GADGETS AND ELECTRONICS
- Remove the batteries from your flashlights and other electronics so they don’t corrode.
- Store in a safe, dry place—like a plastic tub with a lid.
CAMP KITCHEN
- Wash your camp kitchen gear until it’s super clean. We all know that our idea of clean on the trail can be pretty lax—and rodents will go after even the smallest crumb.
- Make sure your set is complete. You don’t want to head out on your next hike to find you don’t have your trusty spork.
- If you’re missing something, organize a replacement now, because you’ll probably forget in three months.


STOVE
- Take the gas canister out of your camp stove.
- Store the gas away from any source of flame.
- If your stove has a piezo igniter, check it’s working and replace if needed.
- If you use your canister stove in cool/cold conditions, you’ve probably noticed a drop off in thermal output - the liquefied propane/butane doesn’t readily turn to gas. Perfect project for lockdown days: make an insulated sleeve for the cylinder. Take an old closed-cell foam sleeping pad, cut out a circle the same diameter as the canister, a rectangle the same height as the canister and hot-glue them together. Voila!
- If you've been rocking a liquid fuel stove, you'll know the importance of keeping it clean - especially if you had to use petrol meant for cars (which contains lots of additives that can block the jet of your stove). Or if the internal filter inside your fuel bottle went missing and dirt got in the jet. Cleaning and maintaining the jet of a liquid fuel stove isn't difficult, but you may want to check with your stove manufacturer first, as different models require different kinds of TLC.

HIKING BOOTS
- Make sure your footwear is clean before it’s reconditioned and reproofed. Brush off any dried mud and spot clean with a damp cloth.
- Remove the insoles and laces to clean separately, and then fill the boot with a bit of warm water and a few drops of Grangers Footwear + Gear Cleaner. Shake the mixture around to clean the membrane and inside of the boot or shoe.
You can then use the same product to scrub down the outer (and for your laces and insoles)-apply water and the cleaner as needed, and make sure you can get into all those little rivets and grooves before rinsing off. Repeat as required. - Pat them down with a clean towel or rag to absorb the excess moisture, and stuff the insides with newspaper before you re-treat. This stops any reproofing product getting inside the boot and will also help your footwear dry a bit faster.
- Is water not beading straight off your footwear? Once clean, you can also give your boots a zhuzh with a waterproof treatment like Grangers Footwear Repel. This acts as the first line of defense, keeping more moisture away from the membrane and allowing your footwear to breathe better. You're best applying this while the footwear is still damp, so it can really absorb into the upper properly.
- If you’ve got leather boots, the salt from your sweat and any repeated saturation and drying during a wetter trip will dry out and cause the leather to crack. Blech. Use a leather conditioner to stop that happening. Beeswax is a great option as it keeps the leather supple and acts as a natural water repellent instead of having to double up with a reproofing spray.
TRYING TO SPEED UP THE DRYING PROCESS?
Don't leave any boots next to a hot radiator or campfire to dry. this can either melt the glue attaching the sole or over-dry the leather and cause it to crack. Room temperature is best.

BACKPACK
- Empty the pockets then vacuum all that mystery gunk out of the bottom of your backpack.
- Brush off mud and sponge off any marks.
- Air it out thoroughly before storing.
- Put a sunscreen (in stick form) and a lip balm in the lid or inside pocket of each of your packs. Someone is bound to forget these essentials on your next hike.
FIRST AID KIT
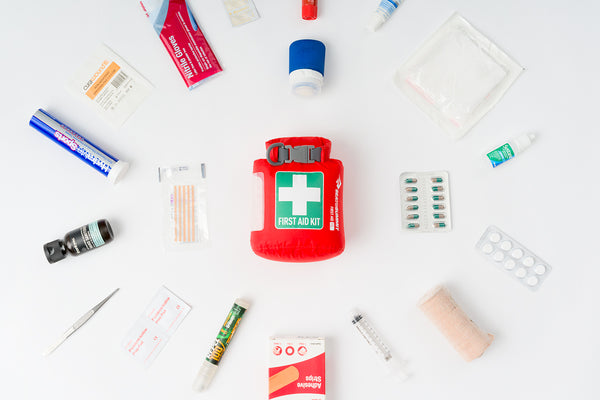
- Make sure you have everything you need in your first aid kit.
- Replenish anything you used up on the trail.
- Replace anything that’s out of date.

KEEP IT ORGANIZED
Don’t waste time rummaging for gear when you’re ready to venture outdoors again.
Plastic tubs with lids and categorized labels will make you the Marie Kondo of camping. But if those tubs prevent fresh air getting to your gear, the whole exercise could end in tears.
Storing gear in an airtight tub will mean that the humidity remains constant over time. In the case of a polyurethane coating (like those found on many tents) this can weaken or soften the coating. It’s why some stored tents go ‘sticky.’
SAVE THOSE SILICA GEL PACKETS
Throw them in your storage containers to avoid any moisture compromising your gear.
Organize your ventilated containers in a way that makes it easy to hit the trails in no time—with your most used stuff easily accessible and your seasonal stuff packed in the harder to reach areas.
Label each tub with the gear category, season or activity—sleep system, camp kitchen, electronics, winter camping etc.—and have a more detailed checklist stored in the tub (make a note if your sleeping mat or bag is being stored elsewhere).
If you’re an ultralight hiker, you might even want to weigh your gear and record the weights. This is a next-level gear-geek move but it will make a world of difference when setting off on ultralight adventures.
Here’s an example of which gear you might want to store together:
- Sleep system: Sleeping bag, liner, mat, tent and tarp, camp pillow and pillowcase
- Camp kitchen: Cookware, dinnerware, utensils, gas canister, camp stove
- Camping electronics and gadgets: Batteries, lighting, compass, other tech
- Wearables: Boots, backpack, performance clothing, microfiber towel
- Miscellaneous: this tub is the camping equivalent of your junk drawer
When the lockdowns lift and you can venture back outdoors, it’ll be easy to get your gear together, throw it in the car, on your bike or in your pack and hit the road. We can’t wait.